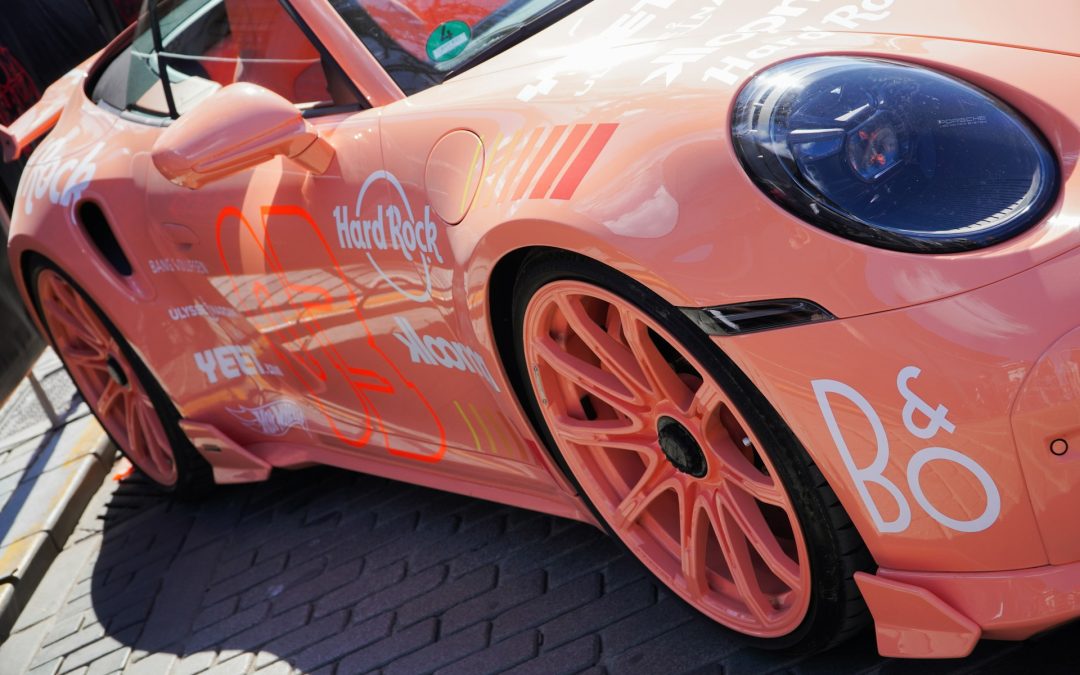
Getting decals lined up just right on a vehicle takes more than a steady hand. Whether it’s one small logo near a door or a full graphic stretching along the side, alignment can make or break the final look. When decals go on crooked or off-center, it’s hard not to notice. Worse, bad alignment can mess with how people view your brand or message. A clean, straight layout shows care and professionalism, while uneven decals just look rushed.
Proper alignment during a vehicle decal installation doesn’t only make the car look better. It also helps the material stay put longer. When the product is placed cleanly and smoothly, you cut down on edges lifting and corners peeling. Straight lines and even spacing keep the design looking strong, even after driving through sun, wind, and rain. That’s why it’s worth learning the right prep steps and using the best tools to get everything where it belongs.
Preparing Your Vehicle For Decal Installation
Before any decal touches the surface, the vehicle needs to be clean and ready. A dirty or uneven surface leads to poor adhesion, which can cause bubbles or weak spots. It’s not just about wiping the area with a towel. Dust, road grime, oil, and even wax can stop the vinyl from sticking the way it should.
Start with a proper wash using soap that leaves no residue. Skip the quick-shine sprays or waxes, especially near the area getting wrapped. They leave behind layers that block the film from grabbing onto the surface. After washing, dry the vehicle fully. Any wet spots, especially underneath trim or curves, can interfere when you start smoothing down the material.
Here are a few things to check before starting:
- Look for dents, scratches, or chipped paint. These reduce how well the film sticks.
- Wipe everything down with isopropyl alcohol or a wrap-safe degreaser.
- Make sure the area is free of lint and towel fibers.
- Avoid working in a windy or dusty place where debris can land on the vehicle.
Timing matters too. Try to install when the surface is cool and the air is mild. If it’s a cold morning or the vehicle’s been sitting in the sun, let the car get back to a normal temperature. Extreme heat can make the adhesive too soft, and cold temps can make it stiff and unwilling to bond properly. Aim for a steady, dry day with some shade nearby if needed.
One missed detail can cause a failed install. For example, applying a decal in a dusty garage seemed fine at first, but by the next day, micro-sized bumps began to show under the vinyl. The dust trapped beneath ended up ruining what could’ve been a smooth, sleek finish. A little patience and prep can prevent problems like that and save loads of effort down the line.
Tools And Supplies Needed
Lining up decals isn’t just guessing with your hands. There are tools made for this kind of detailed work, and having the right setup keeps the process smooth and on track. Simple items like tape and rulers help stay consistent from panel to panel, while squeegees and slip sprays help make the material settle without bubbles.
Here’s what you’ll want on hand:
1. Measuring tape – Used for spacing and marking reference points.
2. Masking tape – Great for holding decals up and getting a dry run before peeling the backing.
3. Squeegee with felt edge – Helps press the decal into place evenly without leaving scratches.
4. Level – Makes sure everything runs parallel across the vehicle’s shape.
5. Application fluid or slip solution – Gives you a bit of movement before the adhesive sets.
Having a firm workspace nearby for trimming or laying out your decals ahead of time is helpful. A clean table, a sharp utility knife, and extra towels round out the setup. If you’re prepping a large piece, you may need extra masking tape to mark alignment spots on the car’s panels.
Don’t skimp on quality. Low-cost tools might work once but often wear out or cause problems. Wrap-specific squeegees and safe cleaners are made to work with vinyl and paint. Using kitchen towels or random blades can scratch the surface or tear edges. Sticking with proven product options designed for decal installs makes things go smoother and helps avoid costly mistakes.
Step-By-Step Guide To Aligning Decals
Laying vinyl on a vehicle isn’t something to rush. One wrong move, and you’re left peeling back material or reprinting it altogether. Before the backing comes off, take a moment to set up a few alignment points. This helps your decal go on straight and stay that way.
Start with these steps:
1. Hold the decal in place using masking tape. Tape across the top edge first to act as a hinge. Then step back and check the positioning.
2. Measure from landmarks on the vehicle. That might be the space from the edge of a door, the bottom of a window, or the body line. Match both sides of a larger decal to get symmetry.
3. Use a level for horizontal designs. Don’t rely on the car floor or roof to determine level. Vehicles aren’t always parked on flat ground, so checking level during application really matters.
Once it’s time to remove the backing, do it slowly in small parts. If the decal is big, lay it down section by section. Start from the center and work your way out, using a squeegee with controlled pressure. This helps push out air and keeps the material smooth.
Pulling the squeegee too fast or pressing too hard can stretch the vinyl. If that happens, the design might look warped or crooked. Keep your movements steady and be patient with curves and edges. For tricky body shapes, a little extra application fluid can give you time to gently shift the vinyl before it grabs on tight.
If you’re working with lettering or logos with lots of spacing, double-check that every piece is square before setting them down. Sometimes, even a quarter inch off-center can catch the eye and throw off the overall finish.
Common Mistakes To Avoid
Some mistakes show up right away, and others don’t hit until it’s too late. But most of them can be prevented with a little care upfront. Taking shortcuts during vehicle decal installation is often what leads to doing the job twice.
Here are frequent issues to watch out for:
- Starting without measurements – Guessing where a decal goes usually leads to uneven placement.
- Skipping the surface prep – Oil, wax, or leftover residues make vinyl bubble or peel off later.
- Working in the wrong weather – Hot surfaces can cause adhesive to cure too fast. Cold makes the film stiff and more likely to crack or lift.
- Peeling all the backing at once – Decals applied all at once easily stretch or snag. Go slowly, in stages, to control position and pressure.
- Pushing too hard with the squeegee – Excess pressure can distort the shape or trap air bubbles. Aim for steady sweeps across the surface.
- Not checking your angle – Installing on a slope or unlevel driveway can trick your eye. Always rely on your tools, not just how it looks from the front.
One overlooked angle or missed measurement can result in graphics that just don’t line up. It might not seem like a big deal at first, but clients and bystanders pick up on crooked details fast. Attention to detail during alignment makes a bigger difference than fancy design work if the final placement looks sloppy.
The Difference Is In The Details
Once a decal is on, it’s easy to assume the job is done. But how sharp it looks a week, a month, or a year later comes down to how well it was installed in the first place. A well-aligned and properly applied decal holds its shape, resists peeling around the edges, and maintains that clean, professional finish.
It’s also easier to care for your vehicle graphics when everything’s lined up smoothly. Uneven surfaces catch grime, and gaps at the edges can trap water. Proper pressure during installation helps avoid wrinkles or folds that can cause dirt to settle in hard-to-clean spots.
If you’re not completely sure you can get it straight, don’t chance it. Whether it’s a single logo or a banner stretching across the body, proper tools and experience make a real difference. Professional help can save a lot of time and ensure everything looks just how it should.
Getting the alignment right from the beginning saves future repairs, avoids design loss, and keeps your vehicle looking polished. The effort to measure and prep correctly always shows in the final result. Good placement turns a basic sticker into a professional-grade finish anyone can appreciate from down the street.
If you want to make sure your vehicle stands out with perfectly aligned decals, choose professional installation to avoid any mishaps. Full Curl Graphix specializes in expert vehicle decal installation, ensuring your design stays crisp and clean in all conditions. Let us handle the details so your ride can reflect your brand’s flair. Reach out to Full Curl Graphix today for a consultation on how we can make your vision a reality.