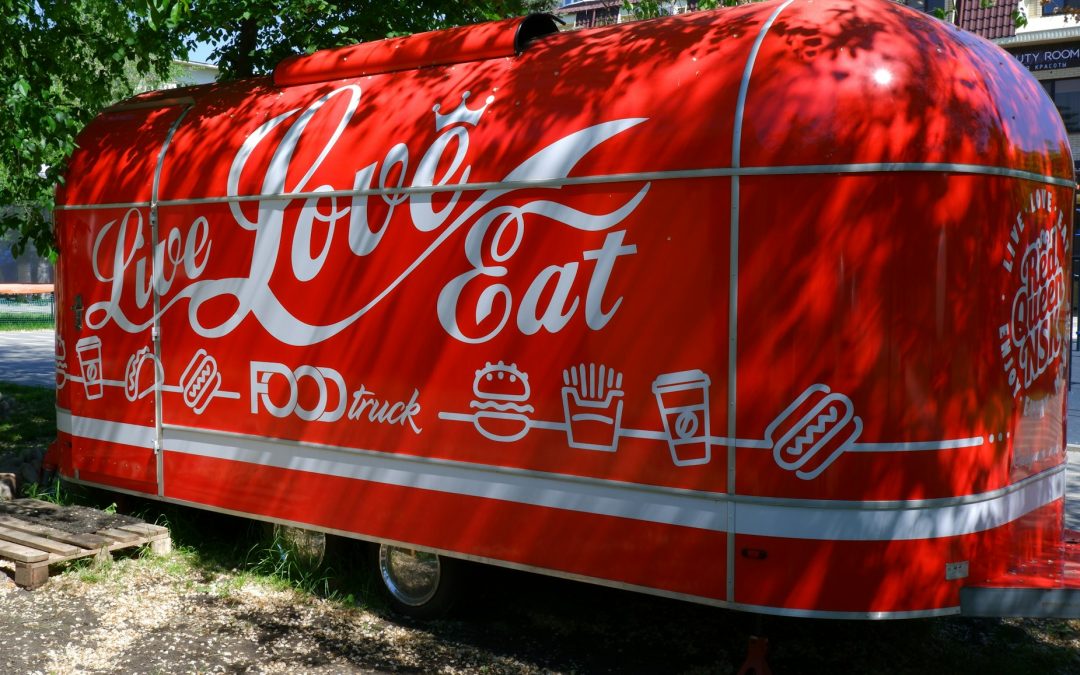
Food trucks are more than just kitchens on wheels. They’re moving advertisements. The way a food truck looks can have just as much impact as what’s cooking inside. When people walk by or drive past, the wrap is often their first impression. That’s why the design and installation of the wrap matter as much as the menu.
A clean, bold wrap can help a truck stand out in busy lineups or busy streets. It lets customers know what type of food to expect and builds a sense of brand identity with just one glance. But to get to that point, the wrap needs to be installed the right way. Quick installs or poor prep can lead to bubbles, peeling edges, and fading colors. To get it right from the start, it helps to follow clear steps that focus on quality over speed.
Pre-Installation Preparation
Getting the truck ready for a wrap isn’t just about wiping it down and jumping into application. This step sets the tone for the durability and final look of the wrap. Dirt, grease, leftover wax, or even moisture trapped on the surface can keep the material from sticking well, which could lead to peeling later on.
First, inspect the entire surface. Look for rust spots, dents, or chipped paint. Those flaws should be fixed before wrapping, or they’ll show through the vinyl and impact how it holds over time.
Next, wash the truck thoroughly with a mild, non-wax detergent. Then, go over it with isopropyl alcohol to remove anything left behind. At this point, skip any polish or sealant. The goal here is a clean, dry surface with nothing between the wrap and the metal.
There’s also more to think about than just cleanliness:
- Take precise measurements of all sides, curves, and edges of the truck
- Plan where design elements and text will go, avoiding seams, gas caps, or hinges
- Select a wrap material that suits the environment and planned use since some vinyl types hold up better under strong sunlight or near cooking vents
- Double-check that all design artwork is the correct resolution and size for print
It may feel like a lot of small steps, but prep work is what separates a wrap that lasts from one that fails early. Skipping this phase can lead to costly do-overs and reprints down the line.
Installation Techniques
Once the truck is clean and the prep work is complete, it’s time for the actual install. This step can make or break the final look. Rushing through it or cutting corners could lead to wrinkled vinyl, distorted images, or obvious bubbles.
Start by applying wrap to large, flat areas such as the side panels and rear doors. These spots are easy to work with and help anchor the design elements in place. Start with light tack adhesion so the material can be adjusted gently before being fully pressed down.
Next, move to complex zones like wheel wells, curves, and corners. These require more precision and usually heat. A heat gun lets the material become flexible and conform to tight shapes, but too much heat can stretch or damage the print. Use low, even heat and take your time.
Here’s a basic application process:
1. Align each panel with tape or guide lines
2. Lightly tack the vinyl into place by hand
3. Use a felt squeegee with firm strokes from the center out to remove air
4. Apply low heat to areas with curves and tough bends
5. Trim edges and gaps with a sharp blade while avoiding paint scratches
6. Press down all seams and touchpoints with heat and tool pressure
Pay close attention to door handles, hinges, seams, and wheel arches. These are the zones that tend to lift first if not wrapped correctly. For example, when wrapping a recessed handle, press the vinyl in with care to avoid creases or stretching that leads to bubbling later on.
The goal is to make the finished truck look smooth and painted, not taped or stuck on. A rushed job may look decent at first but won’t hold up. Take the time to do it right the first time.
Post-Installation Care and Maintenance
Once the truck is fully wrapped, don’t assume the job’s over. Maintaining that fresh, eye-catching look takes some simple routine care. Even with perfect installation, the wrap can suffer if it’s neglected or exposed to damaging conditions.
Start by giving it time to bond. Wait at least two days before washing the food truck. This gives the wrap’s adhesive enough time to set properly. Washing too soon can cause lifting at corners or seams.
From there, build a cleaning routine:
- Use a soft sponge or cloth with pH-neutral soap only
- Avoid high-pressure sprayers or brush-style car washes
- Rinse well with clean water and dry with a microfiber towel
- Wipe off bird droppings, sap, or spills right away
- Park in shaded areas when possible to limit UV wear
Do a visual inspection every couple of weeks. Look at common stress points like corners or edges, especially near doors, handles, and vents. These areas can show early signs of wear like lifting or bubbling. Catching those problems early can prevent spreading.
Treat your wrapped truck like you’d treat custom paint. Gentle cleaning and regular checkups will make the wrap last longer, hold color better, and continue drawing attention from every angle.
Professional Installation Benefits
While doing it yourself might be tempting, professional wrapping has real advantages. It’s more than sticking vinyl to a truck. It takes tools, steady hands, and experience to get it right on the first try.
Professionals have the right equipment like rivet brushes, air-release squeegees, and precision knives. More importantly, they know how and when to use them. They understand panel alignment, heat distribution, and how vinyl reacts to different shapes and surfaces.
Hiring an expert also means fewer risks of costly mistakes. Bad cuts, bubbles, or design mismatches can ruin a good wrap. Experienced installers know how to stretch and mold vinyl without distorting the image. Their approach prevents edge lifting and color fading.
If damage does happen, pros can often repair a section cleanly instead of starting from scratch. That’s a lot harder if it’s a solo job. Pros also keep material waste to a minimum by laying out everything accurately from day one.
When you add it all up, working with an experienced installer saves time, avoids repeat work, and makes sure your food truck looks great from every angle for years to come.
Keeping It Looking Sharp Day After Day
First impressions stick, especially in high-traffic spots or food truck festivals. A clean, bold wrap is a big part of what draws people in. But keeping it shining takes more than a one-time effort.
Include the wrap in your regular cleaning schedule. A wipe down once a week can go a long way. After busy events or long drives, take a few minutes to freshen it up. Keep wash tools nearby so it’s never a hassle.
Regular care means looking for cracks, scuffs, or fading near edges. Don’t let a tiny flaw turn into a peeling panel or cracked logo. If anything’s off, get it looked at quickly by a pro.
Show customers you care about the little things. A clean wrap sends the message that what’s inside the truck is just as fresh and cared for. It shows pride in your food and your brand.
With careful prep, skilled installation, and a routine maintenance plan, your wrap will do far more than look good. It will grab attention, make an impression, and help your food truck stay top-of-mind wherever you roll up.
A standout food truck wrap can set your business apart on the streets and bring your brand’s personality to life. If you’re ready to make a big impression, explore how Full Curl Graphix can help with food truck wraps that captivate and last.